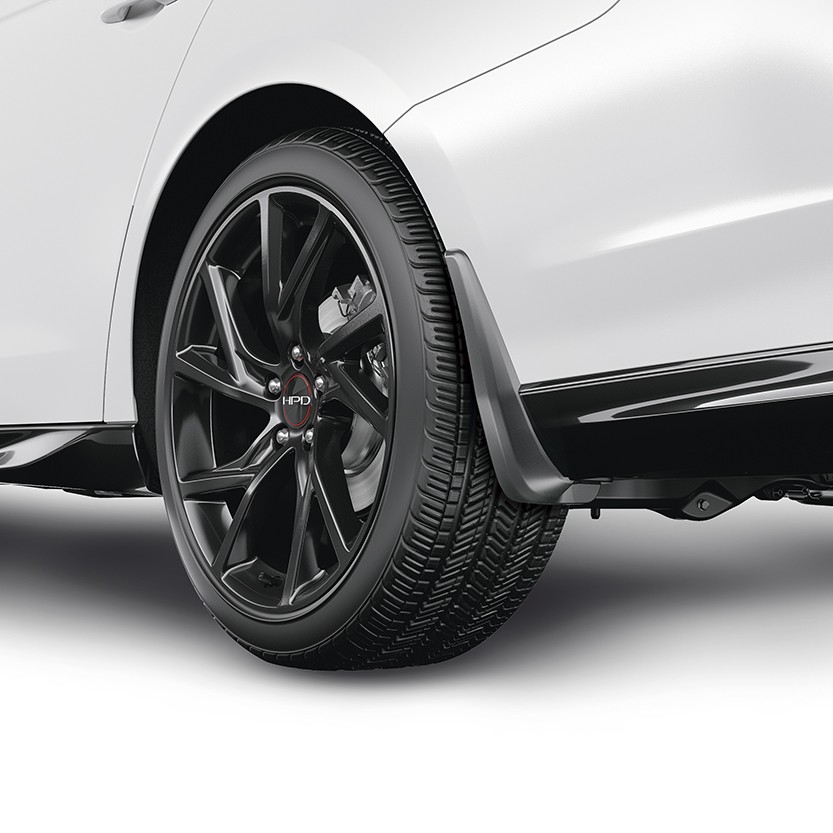
I'm very worried about my car getting dirty, although I know it's impossible not to happen. Does anyone give any advice? TIA
![]()


Yes they do, as do the door protective moldings. They definitely add to the appearance of the car.Get the OEM mudguards. They actually look nice on these cars.
Even easier if you do it with the wheels off, as when you're rotating tires...Easy install with an offset screwdriver.
If they're like the other OEM "mudguards" that I've seen, then they do look unobtrusive, but they also do next to nothing...Get the OEM mudguards. They actually look nice on these cars.
I thought that too until I put a few miles on the car. They may be unobtrusive, but they do work very effectively. I haven’t any gunk or road grime splash on the sides of the car yet. Of course, I’m not exactly 2 wheeling it in mud. Also, it helps that the wheels are a little tucked in more on the 17’s than the wider 19’s.If they're like the other OEM "mudguards" that I've seen, then they do look unobtrusive, but they also do next to nothing...
Am I reading data wrong. Front/Rear track on 17" is 63.0 in / 63.8 in with OEM wheel 8.9" wide vs 19" wheel that is .4" wider with a track that is 62.6 in / 63.5 in. Wouldn't that mean 19" is tucked in more to allow both front wheel outer edges to be in the same plane?I thought that too until I put a few miles on the car. They may be unobtrusive, but they do work very effectively. I haven’t any gunk or road grime splash on the sides of the car yet. Of course, I’m not exactly 2 wheeling it in mud. Also, it helps that the wheels are a little tucked in more on the 17’s than the wider 19’s.
I think it's the opposite...... it helps that the wheels are a little tucked in more on the 17’s than the wider 19’s.
This is my understanding, too. Looking at the offset specs of the wheels, too, makes it seem like the 17s are offset 1/4" or so more than the 19s. (Maybe so that the 19s won't tramline?Am I reading data wrong. Front/Rear track on 17" is 63.0 in / 63.8 in with OEM wheel 8.9" wide vs 19" wheel that is .4" wider with a track that is 62.6 in / 63.5 in.
So, would that mean handling is a smidgen better with the 17’s compared to (non sport models) with 19’s?Am I reading data wrong. Front/Rear track on 17" is 63.0 in / 63.8 in with OEM wheel 8.9" wide vs 19" wheel that is .4" wider with a track that is 62.6 in / 63.5 in. Wouldn't that mean 19" is tucked in more to allow both front wheel outer edges to be in the same plane?
I guess the extra rim/tire width is all inside the wheel well.I think it's the opposite...
This is my understanding, too. Looking at the offset specs of the wheels, too, makes it seem like the 17s are offset 1/4" or so more than the 19s. (Maybe so that the 19s won't tramline?
(It's another reason I'm happy with the 17s — no spacers necessary.)
I have a set on order, and would love more details on an easier way to install the rears. Also, is it really necessary to cut out part of the rear inner fender?? That instruction gives me pauseBought the set from College Hills Honda. Fronts were very easy to install, the rears were a bit more involved. Found an easier way to install the rears, after following the instructions for one side.
I'm glad you asked Steve, I was hoping someone would.I have a set on order, and would love more details on an easier way to install the rears. Also, is it really necessary to cut out part of the rear inner fender?? That instruction gives me pause


Yes, the fronts were def much, much easier than the rears. But your instructions were so much better than the ones I downloaded from Honda, and the installs are now finished. The hardest part for me was getting those expanding button clips inserted on the underside of the rears. One side was a breeze, the other side not so much. But I did finally get them inserted. I also used the stock ones rather than the ones that came with the splash guards. Thanks again for the helpful hints.The fronts are cake. The left rear took me 45 minutes, the right rear took me 15 minutes.😄
Good to hear.Yes, the fronts were def much, much easier than the rears. But your instructions were so much better than the ones I downloaded from Honda, and the installs are now finished. The hardest part for me was getting those expanding button clips inserted on the underside of the rears. One side was a breeze, the other side not so much. But I did finally get them inserted. I also used the stock ones rather than the ones that came with the splash guards. Thanks again for the helpful hints.
